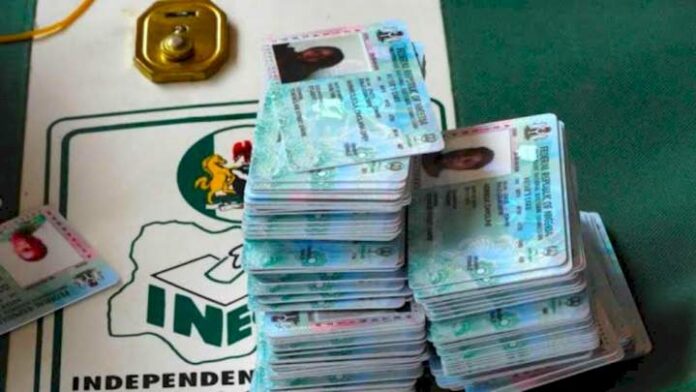
Nigeria’s general elections will begin on February 25, 2023. Since the 2019 elections, about 20 million Nigerians have turned 18 and are now eligible to vote. While every Nigerian citizen has the right to vote, logistical obstacles can prevent them from exercising it. One of the most important steps in the voting process can be taken right now, though, and that’s obtaining a Permanent Voters Card (PVC).
Voters must present a PVC issued by the Independent National Electoral Commission (INEC) on Election Day in order to participate in the voting process. In previous elections, PVC registration was an arduous process that required people to queue for days.
Now, any Nigerian citizen with access to the internet can register a PVC by themselves online as INEC has launched an online portal for this purpose. Other than registering for a new PVC, voters can also use the site to transfer their cards to a different state or request a card to be reissued.
The online PVC registration, which started in June 2021, has a deadline of June 30, 2022. As of May 12, 2022; more than 16 million people have registered. However, INEC chairman Mahmud Yakubu revealed in April that around 45% of these registrations were declared invalid due to incomplete data and wrong or multiple registrations. In some regions, the chairman added, that percentage was as high as 60%.
To ensure a validated registration, follow the 5 simple steps below to register for your PVC online.
Step 1: Visit the INEC website
The first step on how to register your PVC online is to go to the INEC registration portal and select “Get Started”. You will be taken to a new page with a list of services. Click on “New Voter Pre-registration”. Note: This option is only for people who have never registered their PVC before. There are other options on the site if your card is lost, or if you want to buy update your information for a new card.
Before we proceed further, know that you can only register once. Wait for confirmation after submitting your application, and do not make any attempt to register again after that-otherwise, you risk invalidating your registration, because signing up multiple times is considered a crime.
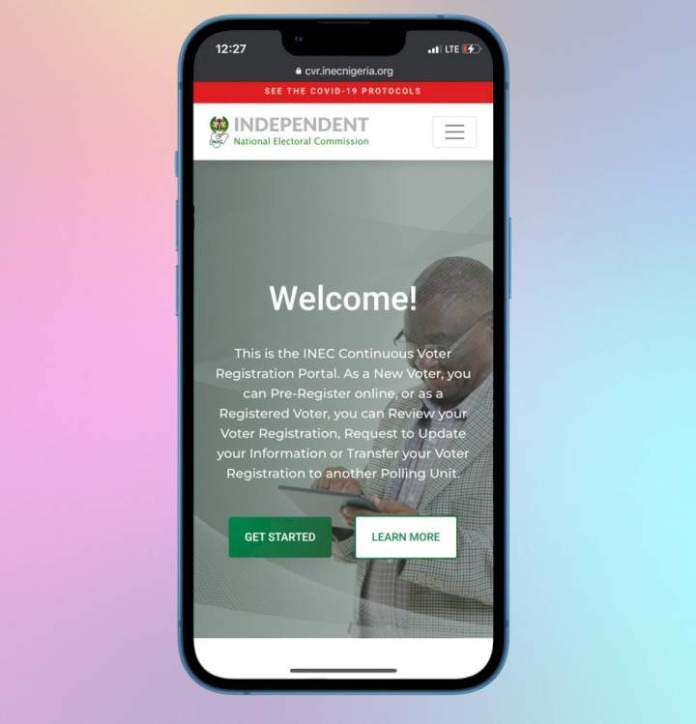
Step 2: Create a portal account or login
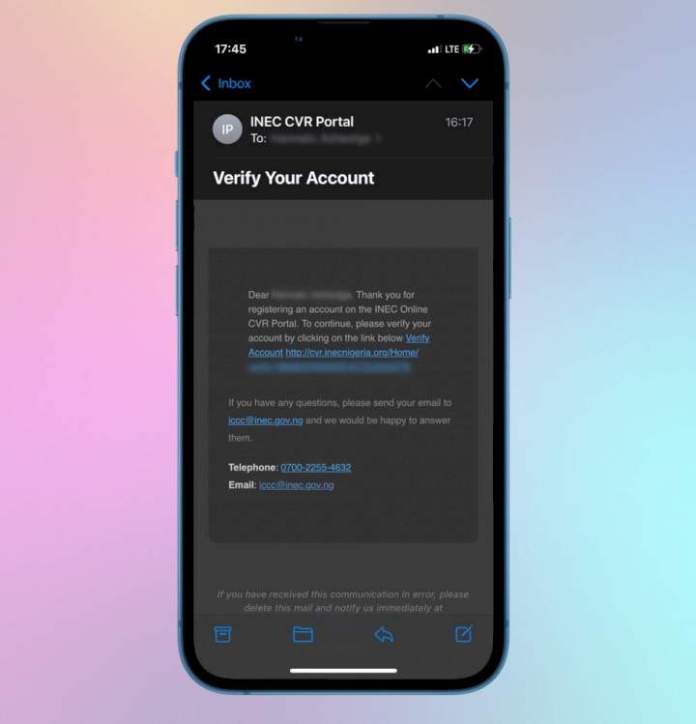
Before proceeding to the registration form, you will be required to sign in to your portal account or create one. Fill in your name, email address, phone number, and create a password, then click “Submit”. It is important to only use an email address you have access to, as you will receive an email instantly to verify your account. If you can’t find the email, it might have gone to your spam folder.
In your email app, you should find mail from INEC CVR Portal. Open it and click on the link contained in it to return to the sign-in page you encountered earlier. This time, click on “Log In” and enter your email and the password you just created. After that, you will be directed to a Declaration page that wants to confirm that all information you will provide is accurate. Ensure to click on “Yes” before proceeding.
Step 3: Register
After the Declaration page, you will be taken to the main registration form. The information required for the form is as follows:
Biodata: name, date of birth, gender, occupation, address, NIN, and nationality.
Additional information: level of education, disability, maiden name.
Residence: country of residence, state of residence, LGA or city of residence.
Birth information: country of birth, state of birth, LGA or city of birth.
Origin information: country of origin, state of origin, LGA or city of residence, place of origin (town or village)
Polling unit: This is information about the state, local government and area you want to vote in.
At the bottom of the page, you will find space for supporting documents like your national identity card or passport. Although this step is not mandatory, it facilitates the verification process by making it easy to confirm your identity. It also enables INEC to link your profile on their database to other databases.
After you have this, click “Save and Continue”, and you’ll be led to a fresh page with confirmation that your application has successfully been updated. If you do not get this confirmation, click on the three black lines in the top right corner of your screen to view your application status.
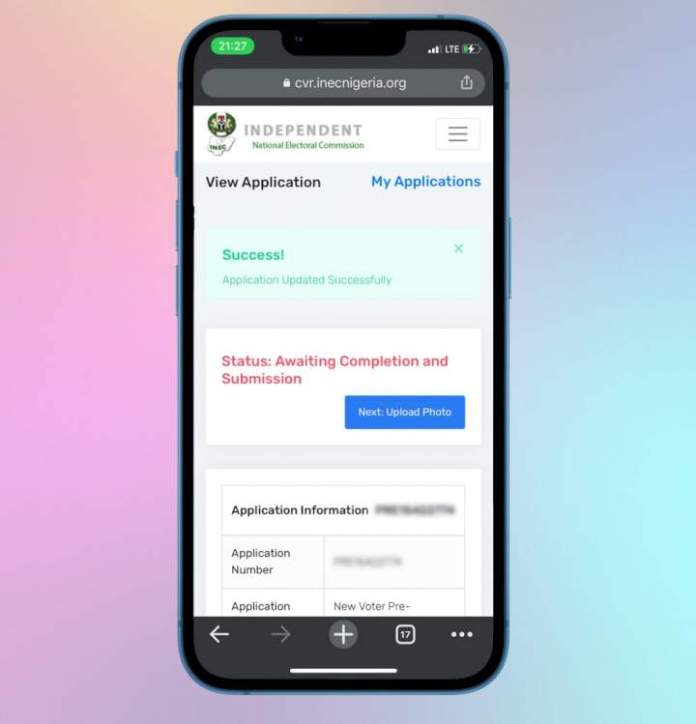
Step 4: Upload Photographs
Next, you will be required to upload two clear close-up photographs of your face: one with a neutral expression, and the other with you smiling. To upload your photos, click “Choose File” and you will be taken to your camera. As soon as you take each selfie, click “Use Photo”, and it will be automatically resized and uploaded. Make sure the photos are clear and well-lit. You’re now ready for the next step.
Step 5: Schedule an appointment
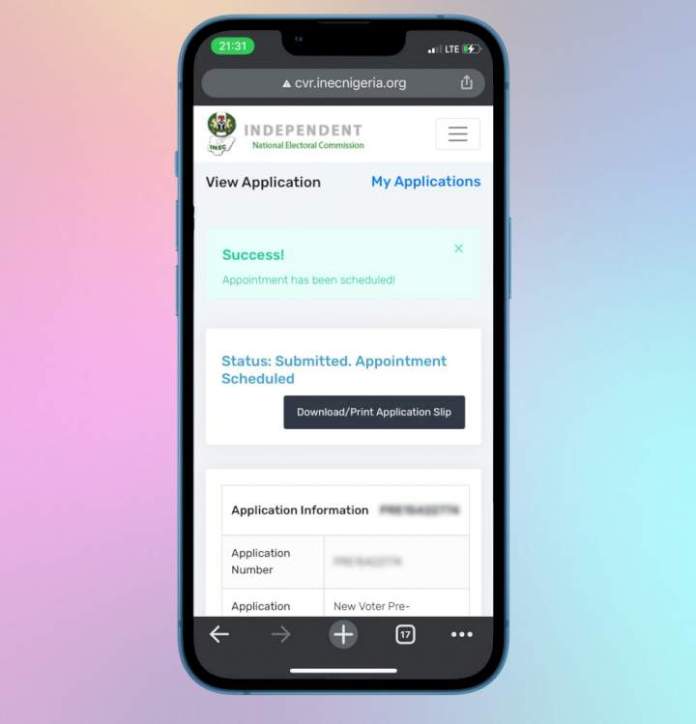
Now that you know how to register for your PVC online, the final step is how to schedule a convenient appointment date to get your biometric data collected. Biometrics are unique physical characteristics you have like height and fingerprints. On this page, you will get a form with a list of options showing the closest places where you can get your biometrics done. These options are obtained from the address you entered when filling out your biodata. There are 811 centres dedicated to biometrics capturing nationwide, with even more being created. You can find a list of every center listed by state here.
There is also a list of available times for your biometrics on the portal. Select the one most convenient for you. Biometrics take about 30 minutes to be completed and the officials are punctual. In the event that you miss the date or time for your appointment, you can always reschedule through the INEC portal. Once you’ve selected a date and time, you can then submit your application.
Now you’re on your way to becoming an eligible voter. After your biometrics appointment, you will receive a temporary voters’ card (TVC)-proof that you completed the voting process. Keep it in a safe place. When the PVC is ready, you will be contacted by INEC to pick it up at the same center you had your biometrics done. This can take anywhere between 1 to 3 months.
Note: You must present your TVC in order to receive the PVC. If your TVC is missing, you can reprint it from the online portal. All you need to do is enter your log in details in order to access your form.
Follow the Neptune Prime channel on WhatsApp: https://whatsapp.com/channel/0029Va74ZvU2v1IqKByXoX3d
Do you have breaking news, interview request, opinion, suggestion, or want your event covered? Email us at neptuneprime2233@gmail.com

